Management center for Hazelcast cluster
Hazelcast is a distributed caching tool which is used is most of our applications. I have written a post before on how we are using it in our environment and how to create a simple two-node cluster using Hazelcast here. Now we will see how we can add a management center which would give access to the cluster status as well a console for interacting with the cluster members.
What is a management center?
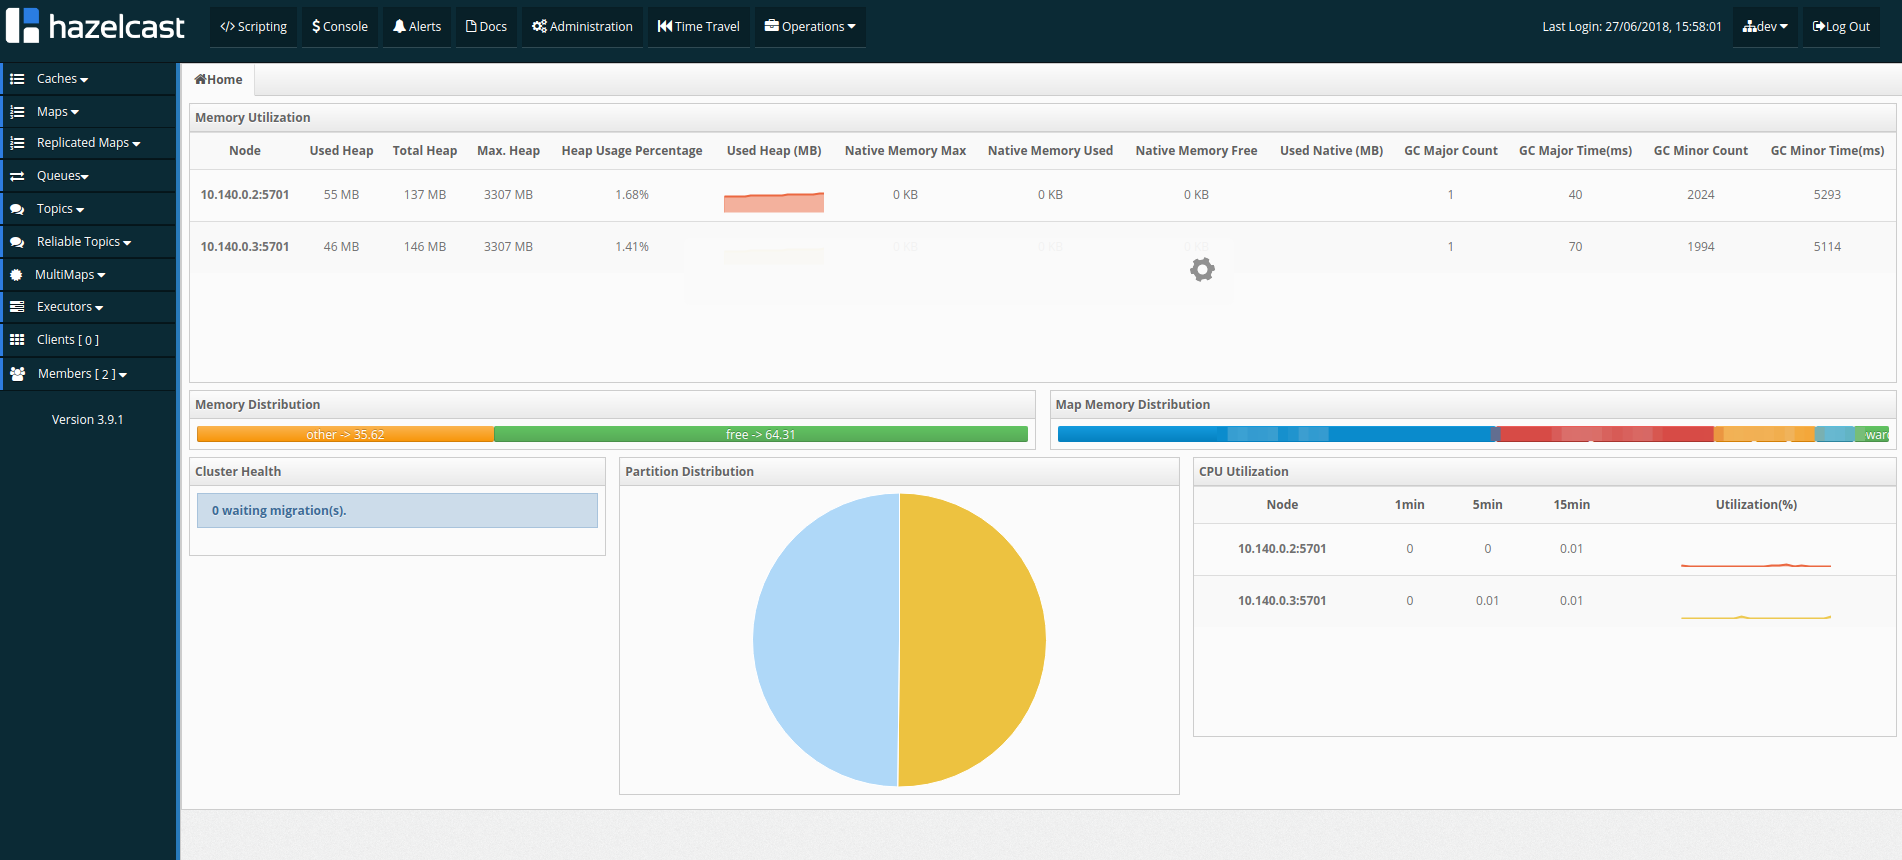
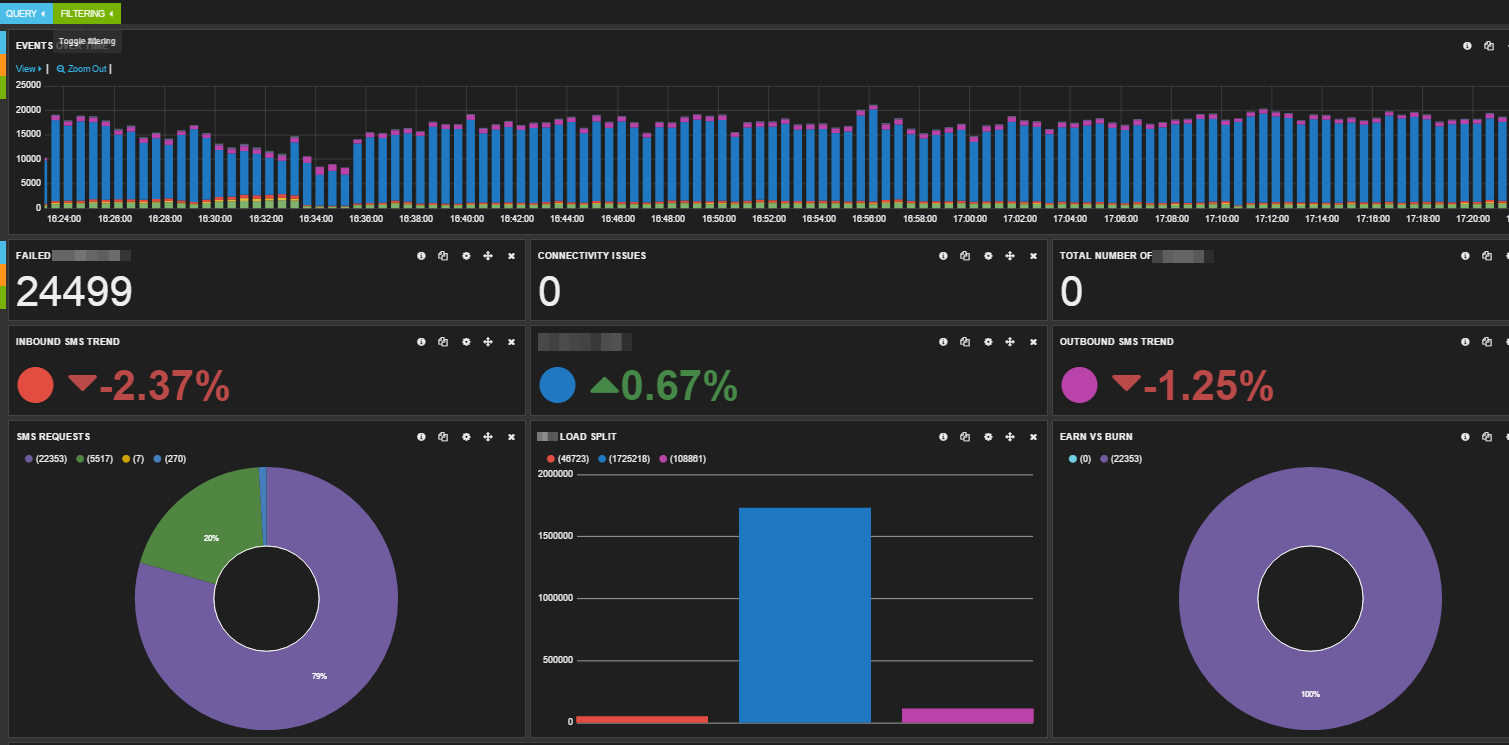
A management center for Hazelcast connects to the nodes in a cluster and provides the details of the cluster members as well as statistics on the cache like the number of hits, the total number of entries etc.
The screen would be something like below when you are connected to a two node cluster.
Setting up management centre
The management centre used to be bundled with the Hazelcast before. But now it needs to be downloaded separately and configured on the nodes. We will see how we can do that below. Before that make sure that you check the cluster configuration post of the Hazelcast as we will be using the same configuration and server names here.
Installing the management centre
We can download the latest management center by going to the following link.
https://hazelcast.org/download/
Scroll down to the section that says “Management Centre”. The latest version as of this writing is 3.10.3. Right click on the zip link and copy the link address.
- Download the link to one of the servers ( This could be one of the Hazelcast nodes or a different server. But need to make sure that the nodes can reach the server )
- Extract the zip file and this will create a mancenter folder.
Once the file is extracted, we need to start the mancenter. Following would be the steps for the startup process.
- Goto MANCENTER_INSTALLATION_DIR/bin folder
- Run the following script
$ nohup sh startManCenter.sh 9988 /mancenter > mancenter.log 2>&1 &
This script is invoking the startManCenter.sh file inside the bin folder and passing 2 arguments to it. The first one is the port on which the management center will run and the second is the context path. - Management center should be accessible under http://serverip:9988/mancenter
In case you have a provided a different port or context-path, you need to the use that one. - For the first run, man center will ask you to create a user and password. Provide a strong password for the mancenter and click OK.
That’s it for the installation part and in the next section, we will see how we can configure the nodes to communicate with the mancenter.
Configuring the nodes to communicate to mancenter
The nodes require to know the path for the man center and they are provided in the hazelcast.xml file. Follow the below steps to configure the man center on the nodes.
- Goto HAZELCAST_INSTALLATION_DIR/bin on the node
- Open the hazelcast.xml file in your favourite editor
- Find the section <management-center> and change the “enabled” attributed to “true”
- Put the value as the full path to the management center.
 Note that the server IP of the mancenter need to be accessible to the nodes
 - Shutdown the node using stop.sh script
- Start the node again using start.up.sh
- If the configurations are correct, you will get to see a log that the node is now connected to the management center at the provided location.

Repeat the above steps on the second server and make sure that you are able to see the management center logs there as well.
Accessing the management center
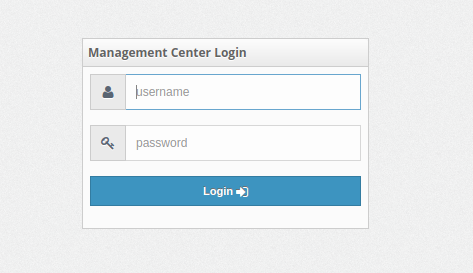
Once both the nodes are connected to the management center, you can access the management center URL configured. This should ask for a username password. Provide the password you setup during the initial run of the management center.
You will be prompted with a cluster selection dialog and it will display the name of the cluster group you want to connect. This is the name of the group in the hazelcast.xml file.
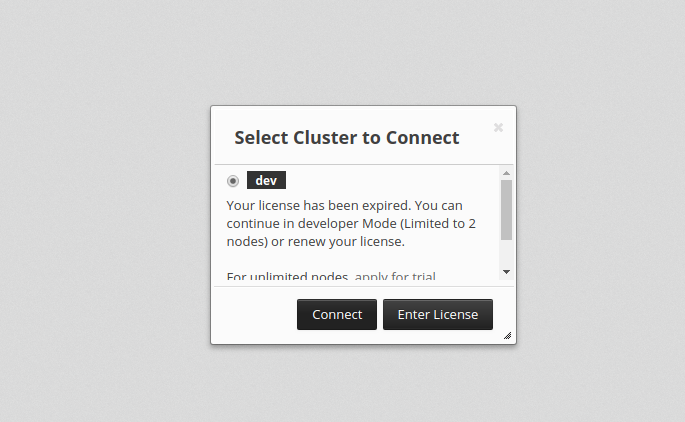
Management center only allows to connect to 2 nodes without a license, you need to buy a license to have multiple nodes connected.
Select the cluster as “dev” and click on ‘Connect’ button. This should load the cluster dashboard with the nodes/members listed in the dashboard.
Under the Maps menu on the left side, you should be able to see the caches that were created under the Hazelcast. Clicking on a map would display that stats for that map and you could see the following details there:
- Number of entries in the cache
- Number of backups
- Number of hits
- Latency
- Throughput and memory usage

The stats are updated in near realtime and the cluster health can also be monitored from the management center.
Conclusion
Hazelcast is a widely used caching solution and is very easy to set up as a distributed cache. The management center provides a visual perspective on the cluster status and numerous cache stats available.
Let me know your thoughts and queries on the comments section
regards
Microideation


1 Response
[…] Management center for Hazelcast cluster […]