Fixing the font rendering issue in IntelliJ
IntelliJ is undoubtedly one of the best IDEs that you could ever find. It has tons of features especially for Java and EE development. The spring development support provided by IntelliJ is unmatched and has been my go-to IDE for all my Java related project.
I am using IntelliJ in a Linux environment. One major drawback that always irked me about IntelliJ in Linux was the font rendering issue for the text. When I say the font rendering issue, I refer to lack of crispiness/anti-aliasing of the font. It may not be a deal breaker for many, but myself being a perfectionist, this issue was sore for my eyes. In this post, we are going to see how to fix this issue and have the fonts look crispier and better.
The issue with font rendering
It’s better to show the difference using a screenshot than giving two paragraph worth of explanation. So here’s an image with the font rendering issue and you could see how the fonts are not crisp.
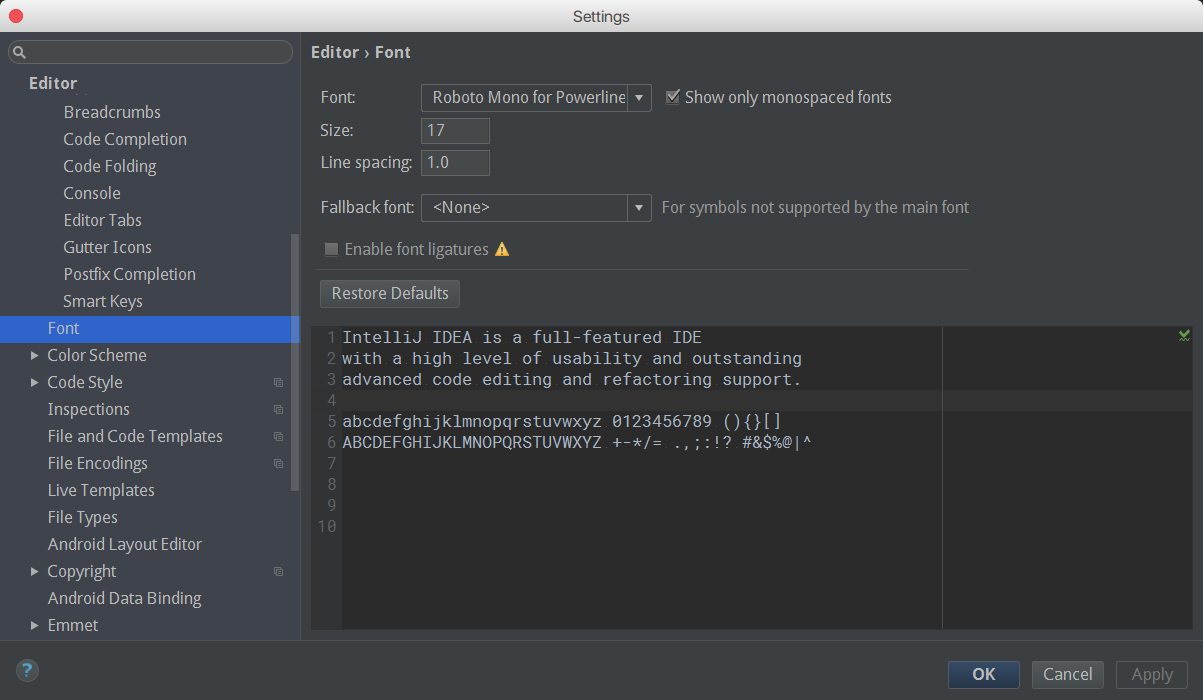
Check how the font has rough edges and its the same when you open the editor for writing code. You will not be able to fix this just by enabling the anti-aliasing in the settings.
Below is a screenshot after the fix is applied for the font rendering.
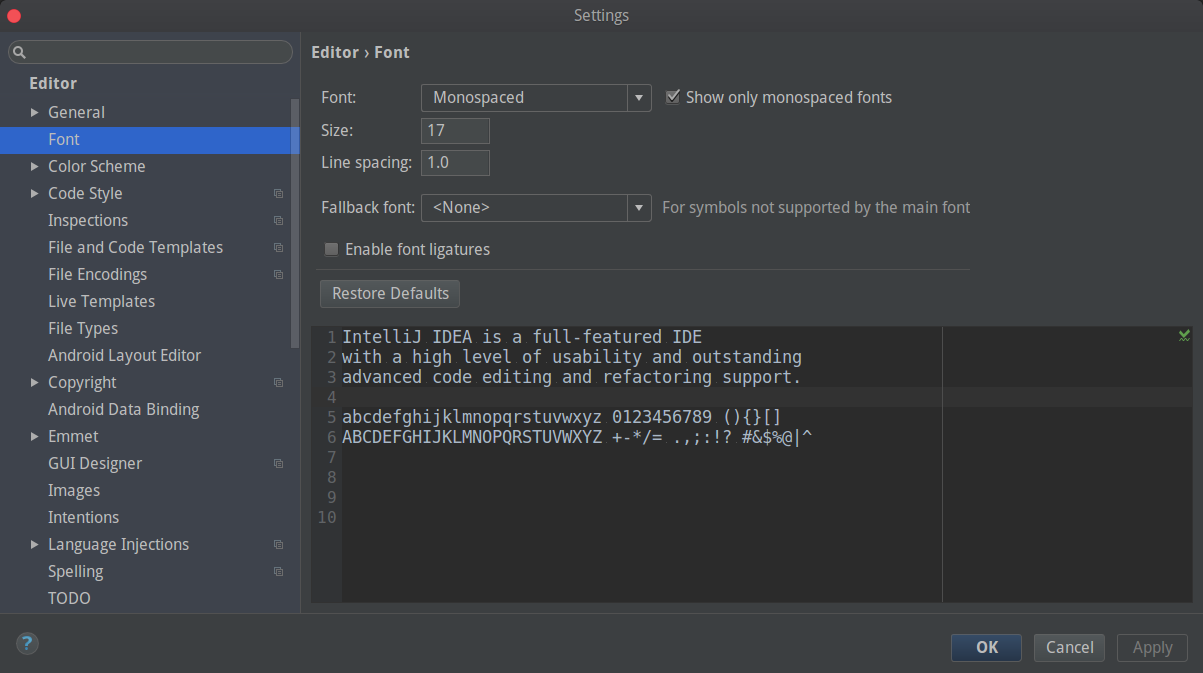
In the above screenshot, the font is a lot crispier and does not have rough edges. The editor fonts also reflect the same changes:
The fix
Fix for the font rendering requires you to use the custom JDK from JetBrains for launching the IntelliJ application. Let’s see how we go about setting this up.
Downloading the JDK
Head to the below link and download the respective JDK for your operating system ( This fix can be applied to windows and Mac also if you have font rendering issues).
Download JDK zip file to a location of your choice.
Enabling the custom JDK for IntelliJ
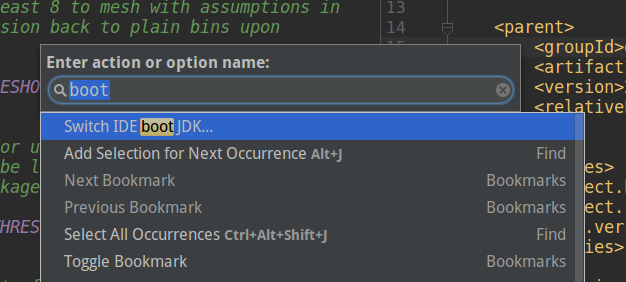
In the next step, we need to make sure that IntelliJ is set up to use the downloaded JDK. The IDE JDK is called the Boot JDK and you could find from the action dialog.
Press Ctrl + Shift + A to bring up the action dialog. Now search for “boot” and you should be able to find an entry called “Switch IDE boot JDK”
Open the entry and it will open a small dialog with the current JDK being used. Click on the drop-down button and then you need to choose the “…” option. This will allow you to choose the location of the downloaded JDK zip file.
Navigate to your file location and set the JDK in the dialog and select the
Enabling a JVM setting
Finally, we need to enable a JVM setting in the IntelliJ for the font rendering to be proper.
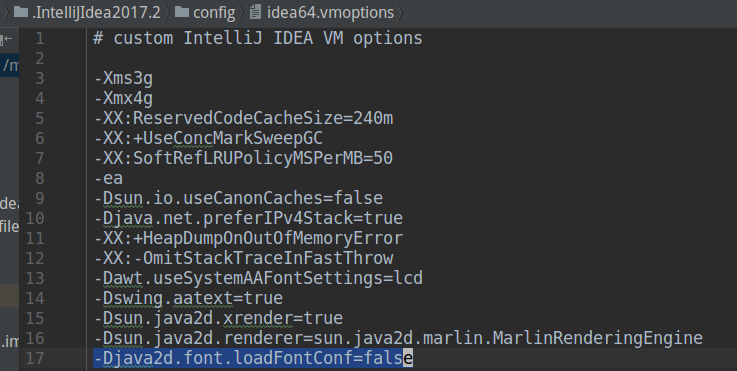
Open the Action dialog by pressing Ctrl + Shift + A. Now search for “Edit custom VM options”. This will open the vmoptions file used by your IDE. This may already contain some entries. Add the following line to it.
-Djava2d.font.loadFontConf=false
That’s it and now you can restart the IDE and the font displayed should be crisp and with proper anti-aliasing.
In case, you are still facing font issues, you might want to check the following:
- Make sure that the boot JDK is what you have selected.
- Check and see that the vmoptions file has got the line added
- Check the following link for more details on the same issue
https://youtrack.jetbrains.com/issue/JRE-205#comment=27-2029724
Conclusion
Hope this helps someone out there who is desperate to have thier IDE font proper and crisp. Let me know if you are facing any issues.
regards
Microideation